
Windows 10 is the newest windows update with various new options and with a more interesting look. And you may have downloaded the new version or purchased the updated pc or laptop. However, there are many problems that occur with this version, for example- locked pc, troubleshooting or one of the most common- Start Menu not working. Everyone is aware, how much important start menus are! Although many people search for search bar or use Cortana start menu can’t be ignored as all of the main options and apps are available on the menu. Windows 10 is one of the extended version of Windows, with all Earlier Windows features and that with the new design. The only problem is a bug. Windows 10 also brings new bugs and errors which are frustrating.
Here are a few ways to resolve the issues step by step if you are also having trouble starting your menu and want to solve it by yourself.
Fix Windows 10 Menu Not Working
This is the first way you can try making your menu work again. If you use Microsoft account, all you have to do is to transfer all your files to this new account and none of your files will get deleted. And also, you software that is installed already, won’t get affected. Follow these steps-
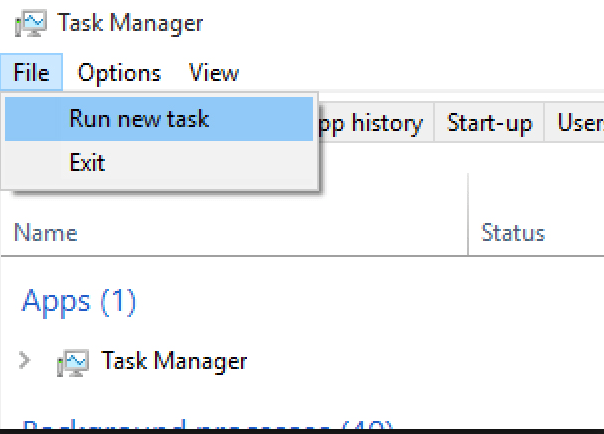
Launch Task Manager
You have to open TASK MANAGER and then opt for RUN NEW TASK from the File menu.
Tick mark the box in front of the option with VCreate this task with administrative privileges.
Proceed to type net user NewUsernameNewPassword /adding the box.
Next step will be to replace USERNAME and PASSWORD with a new username and new password.
Do not give spaces and remember, the password is case sensitive.
Log into your new account.
Restart your PC and log in with your new account. The start menu should now work.
Change your local account to Microsoft account and transfer all of your data.
Loginess might help you, but if it fails, try another step.
Check and Repair Corrupt Files
Windows files can be corrupted easily, and you have to be alert or it can create an expensive problem for your PC. However, Windows 10 let you fix this. Here are the steps-
LAUNCH THE TASK MANAGER
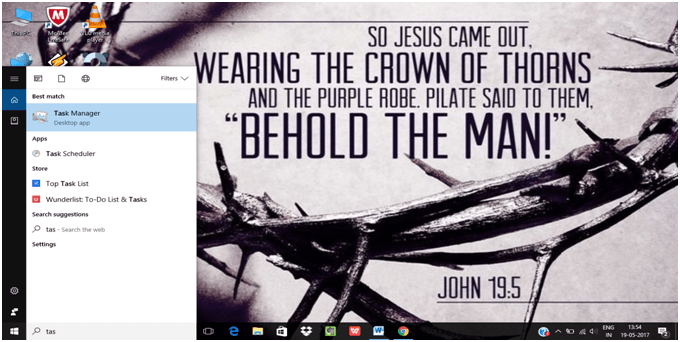
Use [Ctrl] + [Alt] + [Del]alltogether at once, or go into search bar and type TASK MANAGER and SELECT.
Here is an image of finding the Task Manager from Search bar very easily.
Select File on the upper left side of the screen and click
Select the option RUN NEW TASK > type POWERSHELL
Tick the box next to CREATE THIS TASK WITH ADMINISTRATIVE RIGHTS > Ok
RUN SYSTEM FILE CHECKER
Type SCANNOW into the windows and click RETURN KEY.
Scanning may take some time but it will check and fix all the minor issues that you are facing.
But the third option may create some trouble because it clearly states that some of the problems are not solved and corrupt files are present.
Well in this case type or copy paste DISM /Online /Cleanup-Image /RestoreHealthin the POWERSHELL window and press return key. Again, this may take some time but will suffice the problem.
Now refresh your PC and your menu will open but if it doesn’t, you’ll have one last option to try but it is quite difficult and the only last option.
Reinstall the windows apps
This most successful and most used method for fixing stuck apps and most menus. The reinstallation of apps will take less time and is automatic. But it may happen that it will delete your data so remember to back up your every information before you start. Here are the steps.
Launch the task manager once again and type POWERSHELL in caps.
Open it with administrative privileges like you did before.
Copy and paste PS C:\WINDOWS\system32>in the PowerShell window just by right-clicking or by pressing Ctrl+V together from the keyboard of your pc. Press them together.
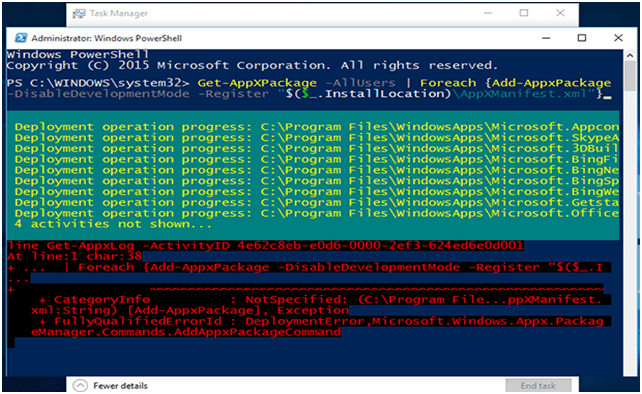
Get-AppXPackage -AllUsers | For each {Add-AppxPackage -DisableDevelopmentMode -Register “$($_.InstallLocation)\AppXManifest.xml”}
This will appear on screen but don’t press anything. Just wait. Ignore the red text appearing and restart your Windows/PC. This will work.
There is one more way left that is easy if you don’t want to perform any of these operational tasks.
REFRESH YOUR PC
1) Restart your computer/PC in troubleshoot mode
Close every application open on your PC and press Windows+L key together to log out of your Windows account.
Go to the Power button, hold, SHIFT key and click on Restart button.
2) RESET YOUR PC
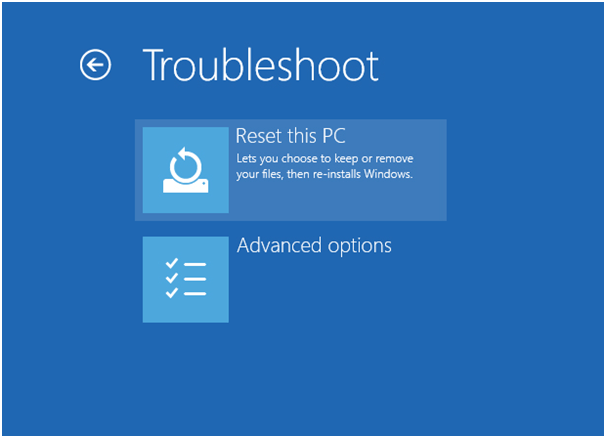
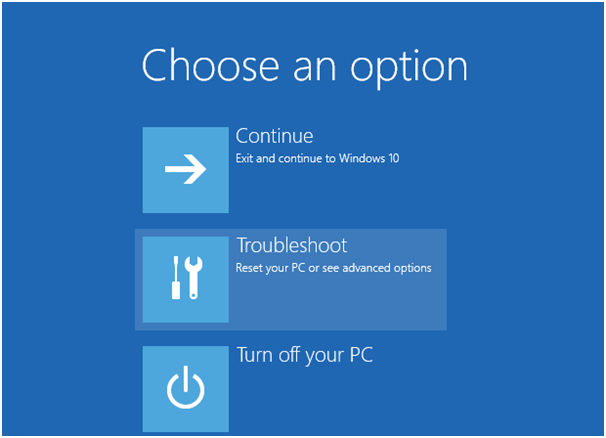
When CHOOSE AN OPTION screen appears, click on Troubleshoot.
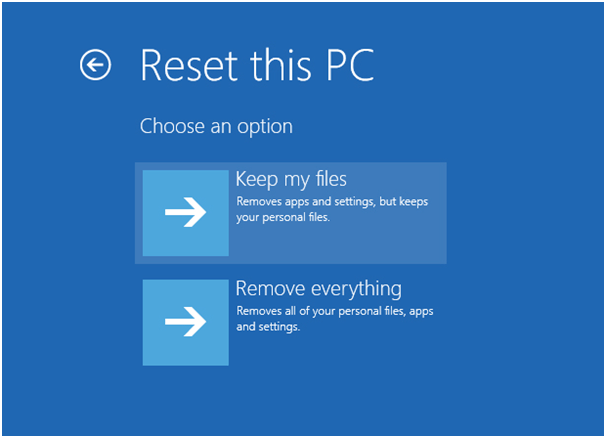
After clicking on Troubleshoot, select the option, RESET THIS PC.
After clicking on RESET This PC, click on KEEP MY FILES and follow the further commands.
Here is a tutorial on how to when the screen appears.
3) ANNIVERSARY UPDATE
However, it is not known if this option fixes the menu problem, but it is worth a try. It might happen that this option fixes your problem. Though you must be already aware of this option as it has come to your pc automatically if not, here is what you will have to do to make it work.
Go to SETTINGS option
Then select UPDATE and SECURITY option
Find the option, CHECK FOR UPDATES, and click on it.
The ANNIVERSARY UPDATE should come forward and your problem will be solved.
So here were some tips and tricks with steps and tutorials if your Windows 10 menu is stuck and is not working. At times the new updates create problems but it can be fixed easily. And we hope that with our step by step guide, it will be easy for you to solve your menu problem and make your pc work again like a new one.