
If you use MacBook regularly and find the camera quality not satisfactory then you might want to give this article a read. Today, this guide will show you and help you to Improve MacBook Air Camera Quality. You just need to follow some easy and basic steps to get your MacBook camera working in no time. Getting an expensive or inexpensive MacBook doesn’t make a difference as the camera quality can still be an issue.
So, without further delay let’s get started and help you to Improve MacBook Air Camera Quality.
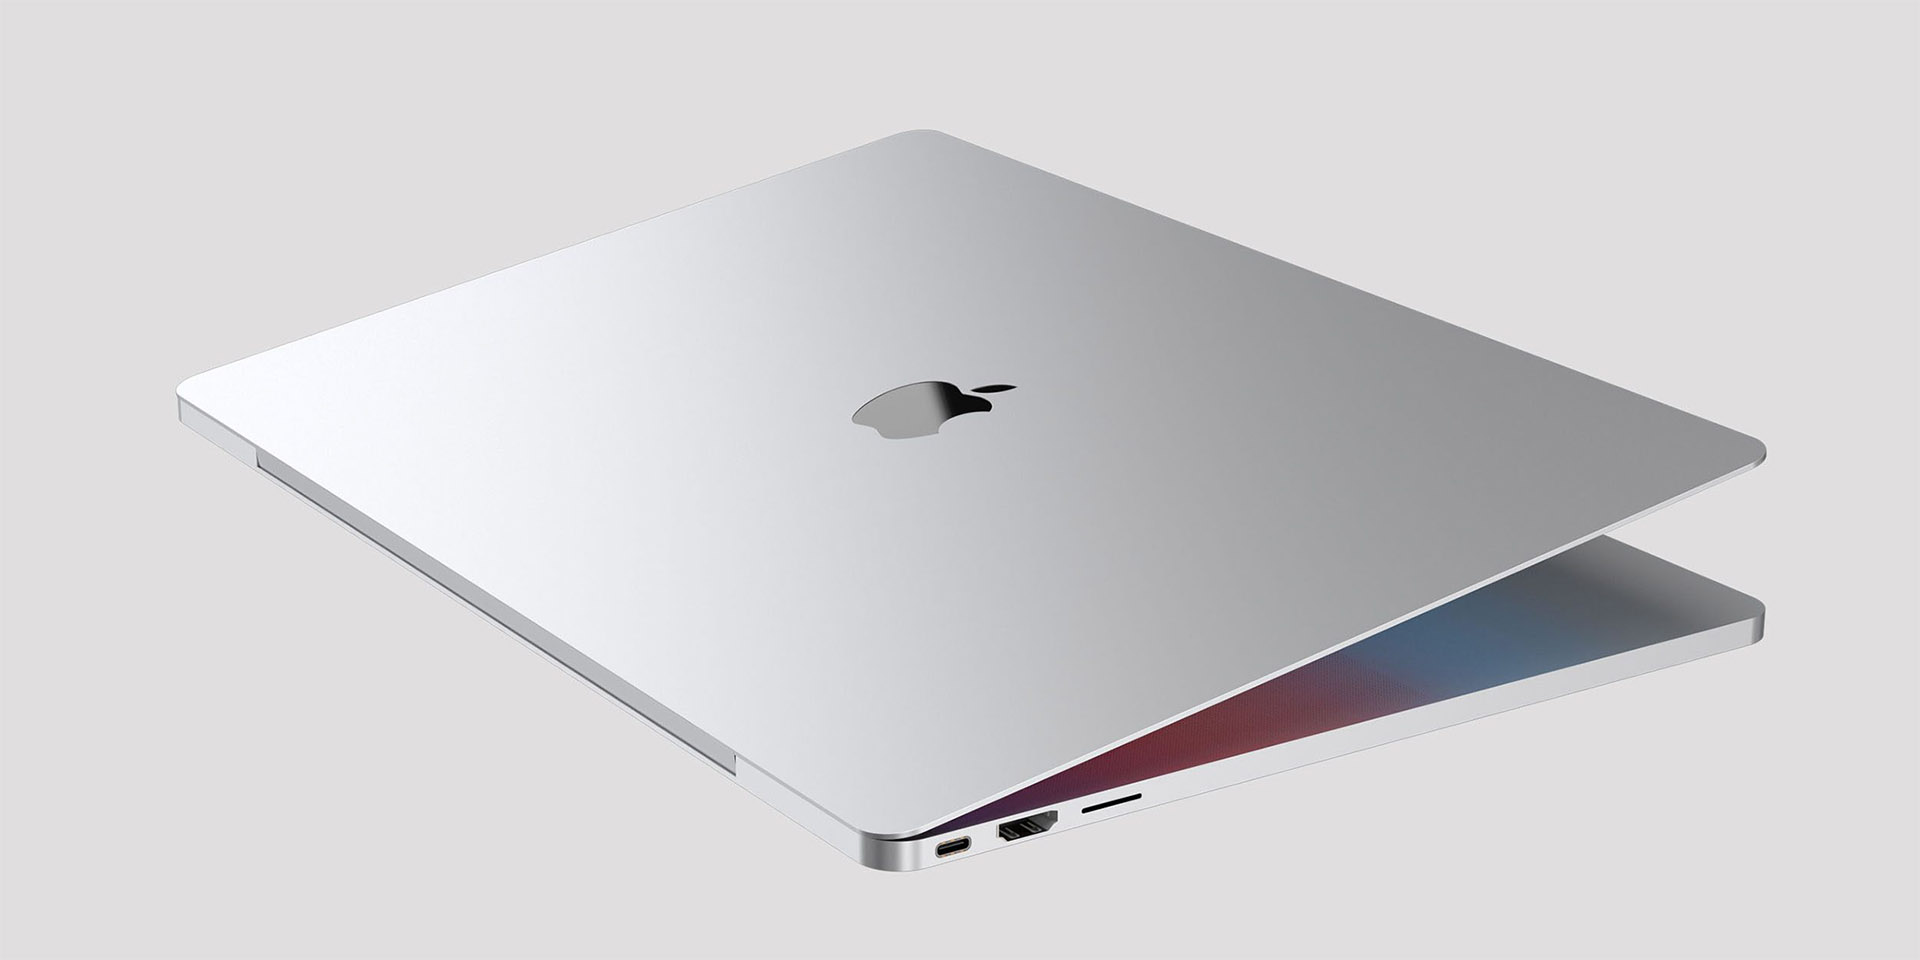
Usually MacBook Air or MacBook Pro has a camera resolution of 720p, which is not even full HD. Thus you shouldn’t expect a great camera and high-quality videos. Sometimes, while watching a video you must have wondered how low your camera quality is getting. You even want to improve it at the soonest.
You can’t interfere with the hardware of the MacBook but, some things can be done to improve the camera quality of the MacBook. Normally the camera quality depends on: the environment, the camera installed, and the imaging software you decide.
Hardware is not the only issue that can hamper your camera quality. There are ways with which you can improve the camera quality. But firstly, you need to know that the camera quality can not be the same as shown in software commercials. So without delay, let me tell you the 5 effective ways to Improve your MacBook Air Camera Quality.
How to Improve MacBook Air Camera Quality?
Here are some ways you can improve the camera quality to attend virtual meetings with clear camera quality.
1. Update the Imaging Software
The quality of the video camera gradually improves as and when you install an even more powerful version of the imaging software than what you already use. In case you have an older version of the software then, the image quality will be poorer. It is important to note that this is relevant for the various kinds of video chat programs and you also need to update it regularly.
Usually Google Meet and Facebook release their new versions from time to time. If you haven’t updated your messaging programs then you must do it as and when they release new updated versions. For this, you must also check regularly for updates too.
2. The Lighting Conditions
Updating the imaging software is an important aspect but you also need to check the lighting conditions you are using the laptop in. This seems to be a factor that many people often skip. The modern computers are not equipped with built-in flash, hence you have to adjust the lighting of the laptop.
You must make sure that there is enough light that falls on your face but not too much of it. The light must fall on your face and should be in a sufficient amount. Don’t think that the light from the laptop will be enough. While setting up the camera, you must also adjust the lid to have the camera at eye level.
When you have adequate lighting, it will result in a properly balanced image. The light conditions sure have an important impact on your camera quality.
3. Use a Soft Light
Now that you already know that lighting is important, you must also know what kind of light is important. In place of having a harsh, white light, try to use soft light. Soft Lights have always been preferred as a better source of lighting.
If the lamp you are using doesn’t have a shade, then tie a piece of paper in front of it. It will soften the light and bring out better pictures and improve camera quality. Also, you must always have the light directed away from your face. Make sure the light doesn’t reflect in your eyes which will not decrease the image quality.
4. The Background

Another most important aspect that affects the camera quality is the background. You must look where you are sitting while recording videos or attending meetings. The position and the center during the use of the camera play an important role too. You must see to it that you fall right in the center of the screen.
If there is any kind of inappropriate background, you must change it or change your seating position. Have a clean and uncluttered background while you’re working. Make sure there is no mixture of colors. Either sit in front of a plain wall or just have a calm background.
5. Avoid Overloading your Laptop
A very common mistake that people make is to overload their laptops with multiple tasks. While watching some videos or downloading the videos from Youtube or some site, you use an internet connection. Which means you are using too many things at once. This results in the overloading of your laptop.
Most importantly, you must shut down all the tasks that are going on in the background while using the camera. You should not overload the RAM or the processing power. By doing this the image quality will improve dramatically.
When the bandwidth is low, the camera automatically reduces the image quality to ensure the stream doesn’t break.
Also Read: How to Connect your AirPods Without the Case?
Conclusion
So, these were some of the easy and effective methods to improve the Camera quality of your MacBook. These steps will ensure you have good video quality and don’t face any problems too. Make sure to keep these things in mind to Improve your Camera Quality of MacBook Air. I hope you found the article useful and easy. Please leave your suggestions or comments in the box below!