
Windows Update error Windows upgrade can’t now check for upgrades cause the service isn’t running. When you face Windows Update Service Not Running issue, you have to solve it. After seeing this error, you won’t be able to update your Windows and install new Updates. Here in this article, we are going to share how to fix Windows Update Service Not Running.
You might want to restart your pc” probably happens when Windows temporary upgrade folder (SoftwareDistribution folder) is corrupted. Windows Update can’t check for upgrades, cause the support isn’t running. You might want to restart your PC.
Thus, you may probably restart your pc and execute Windows Update again, but it fails and reveals you the exact same error. Not to worry. Most Windows users are experiencing this error as possible. More to the point, We have found the right process to resolve it.
Fix Windows Update Service Not Running
Windows Update can’t now check for upgrades, cause the support isn’t running. You might want to restart your PC. Obviously, restarting didn’t help. In this circumstance, you can address the issue by deleting all of the currently downloaded upgrades and retrying. Occasionally an upgrade gets corrupted after which Windows gets confused and believes the service is no more running.
Method 1: Run Windows Update troubleshooter
1) Click Start > type troubleshoot in the search > click Troubleshooting. This will open Troubleshoot Windows on your Screen that allows users to fix some issues.
2) Click Fix problems and then click on Next.

Now, this Windows Troubleshoot Service will automatically scan and detect a problem with Windows 10 update Service.
3) Once, scan completed, Run Windows Update Again and see if it is working or not.
Method 2: Update RST Driver
Intel Rapid Storage Technology driver is very important for Windows to update Windows Files. Now if you are using an Older version of RST then chances are you are facing Windows Update Service Not Running issue.
There’re two ways to update RST driver — manually and automatically.
- Manually update RST driver – Go to the Official website and then download the Driver manually.
- Automatically update RST driver – Use 3rd party tools to Download and update RST Drivers for Windows 10.
1) Download > install Driver Easy.

2) Run Driver Easy > click on Scan Now. Driver Easy will then scan your computer and update drivers.
3) Restart your computer and see Windows Update is working or not.
Method 3: Register the Window Update service
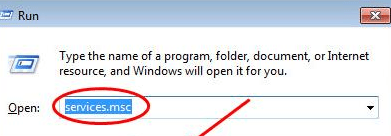
1) Press the Windows key and R to open the Run box.
2) Type services.msc > OK.
3) Find Windows Update > right click on it and then click on Sleep.
Then, register the Windows Update service:
Open cmd Run as administrator.
Type the following command > Enter:
- regsvr32 wuapi.dll
- regsvr32 wuaueng.dll
- regsvr32 wups.dll
- regsvr32 wups2.dll
- regsvr32 wuwebv.dll
- regsvr32 wucltux.dll
Now restart the Windows Update service and see if you are facing the issue or not.
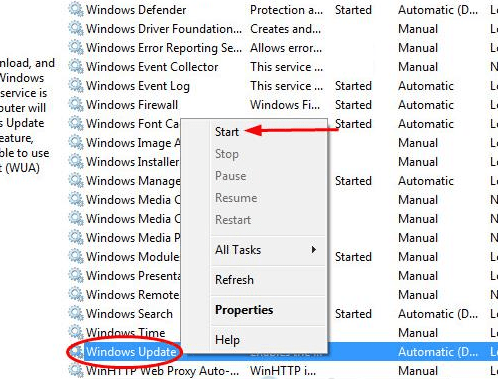
Go to again Windows services.msc and then start the Service that we stopped earlier.
Method 4: Remove your Windows Update history
Open Windows Explorer > go to C:\Windows\SoftwareDistribution
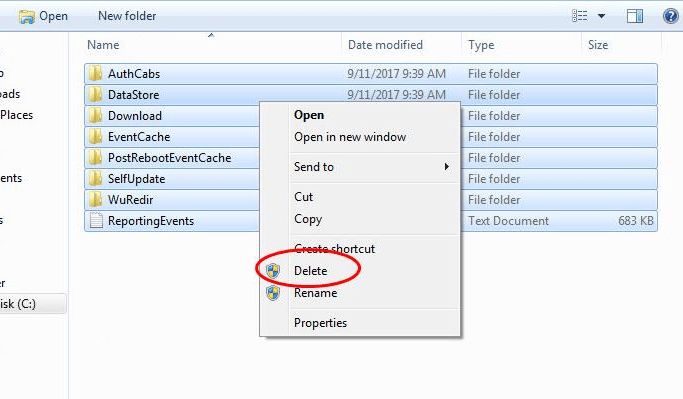
Select all the files > select Delete.
Click Yes and restart the Windows Update service.