
Ever since everything in Mac’s systems became Bluetooth compatible, it sometimes gets difficult because you only have limited options when it comes to port availability. Macbooks usually consist of one or two ports.
For this reason, this article is going to be a real help to you.
Here, we will tell how you can add more ports to your Macbook. Adding more ports will only contribute to your convenience and it will save you from the struggle in connecting external devices.
Take a minute to consider whether or not you still need extra ports before you determine the right option for you. You can use your Wi-Fi network to print much of your content. Bluetooth usually allows phones and tablets to be connected.
External storage is easily performed through networks, without cables. And, even if you’re going to have to connect into one of these devices, you’ll still only use it for a couple of minutes.
In most cases, one port is likely to be used (particularly where you have USB-C devices and don’t need a USB-C adapter to USB-A). There are, indeed, restrictions. From your MacBook, you can not charge your phone or tablet.
[/box]You can’t knit a display for your laptop. And there are certain devices that need only be plugged into, for example, small portable storage. You may need more ports in these cases.
Even then, think more precisely before you determine which of these options is for you.
Already Existing MacBook Ports!
The new design caused considerable revival when Apple introduced its ultra-slim MacBook back in 2015.
In addition to being great and tiny, the USB-C was also available with a heavy price tag and a single connection port.

In addition to charging support, USB Type C provides up to 5Gbps transfers. Apple then launched a new MacBook Air design in 2018 with two Thunderbolt 3 ports, doubled with USB-C.
Both USB-C ports give up to 10 Gbps and are faster in comparison to those on the MacBook, and the Thunderbolt 3, allowing up to 40 Gbps, provides an extra advantage.
The 13 in MacBook Pro has two Thunderbolt 3 / USB-C ports, just like MacBook Air.
While its preceding version, The 15in MacBook Pro has four USB-C/Thunderbolt 3 ports. Below we have mentioned some of the Macbook version and their port capability:
- Macbook: USB-C port (one)
- MacBook Air: Thunderbolt 3/USB-C ports (two)
- 13in MacBook Pro: Thunderbolt 3/USB-C ports (two)
- 15in MacBook Pro: Thunderbolt 3/USB-C ports (four)
Because USB-C is quite new and Thunderbolt is the domain of creative professionals, you might ask what you can plug into your MacBook.
Fortunately, you can always connect an ethernet cable, VGA, HDMI, DVI, or a pair of headphones into your original USB-peripherals.
An adapter or a server is what you need. Below we will analyze how you can improve your MacBook connectivity, but before we do, we shall take a look at what is available from USBC and Thunderbolt 3.
Function Of USB-C

As mentioned above USB-C is quite new, which was called USB Type C. Not all USB-C ports are equal, you can see that in MacBook and MacBook Air models.
Only 5Gbps are available on today’s MacBook generation, while 10Gbit / s on the MacBook air. This is likely to change if the MacBook is updated by Apple, but it did so at the moment of typing.
[box title=”” border_width=”1″ border_color=”#fff8ef” border_style=”solid” bg_color=”#fff8ef” align=”left”]The USB-C interface is used in different ways. One is that your Mac can be recharged and loaded by it. A separate port to connect to your power cable is no longer necessary.
The other advantage of the USB-C port is that the direction to which you connect the cable does not matter. It becomes a distant memory if you feel that every time you plug into a USB-A plug, it’s the wrong side.
The different device, including hard drives and monitors, can be connected to USB-C. You will recognize that you don’t even need to because currently, most devices are Bluetooth.
The USB-C port on the MacBooks has another difference: Only Thunderbolt is currently supported by the MacBook Air and MacBook Pro with the same port.
Function Of Thunderbolt 3

Thunderbolt 3 is the product of the Intel-Apple collaboration. Thunderbolt has been in the game for a long time (though you can still recall FireWire, which Thunderbolt replaced if you’ve been in this game long enough).
The USB-C port is combined with Thunderbolt 3 (as are the Mac desktops) by the MacBook Air and MacBook Pro. Where USB-C is 10Gbps, Thunderbolt is up to 40Gbps on MacBook Air and MacBook Pro.
Like USB-C, Thunderbolt 3 is used by several devices. Moreover, they continue to benefit from high transmission rates for imaginative pros.
Adding More Ports To A MacBook

Once you end this section, you will know the number of benefits and how useful USB-C and Thunderbolt3 are.
In this section, you will learn what and how you can add more ports to your MacBook:
Adding A USB-A Port
 You will have to purchase a USB-C – USB-A adapter to insert that into the MacBook if you want to plug into existing USB devices like the mouse and keyboard or to buy the iPhone with the Lightning USB connector or a new cable for your laptop that is connected to the USB-C.
Apple provides a variety of such cable types and connectors, the USB-C to Lightning, the USB-C to USB Adapter, and the USB-C Virtual AV Multiport Adapter (which requires USB-A and HDMI support), in or online at their own outlets.
It’s obviously not convenient to pack many adapters in your bag, but if you only have one or a couple of peripherals you want to add to the computer from time to time, it’s an easy workaround.
[/box]Adding ThunderBolt
You can’t do that if you want to connect Thunderbolt to a MacBook. On the 12in MacBook, the USB-C port just isn’t powerful enough to match the other one. If you figured that you should use a USB-C to get a Thunderbolt 2 connector, you need some luck with older standards
You can buy a Thunderbolt 3 to Thunderbolt 2 converter if you have MacBook Pro or MacBook Air fitted. Below we have mentioned the links from where you can buy thunderbolt:
For UK £49 or For US $49.
Adding An Ethernet

You might like to consider using an Ethernet cable to connect to the network directly if you have poor WiFi at home as do many netizens. Which may well look like an ideal deal until you know you do not have an Ethernet port on your Mac laptop.
But you don’t need to worry because an adapter is what you need. You can buy Ethernet from Apple’s trusted websites
For US $29 or For UK £29.95.
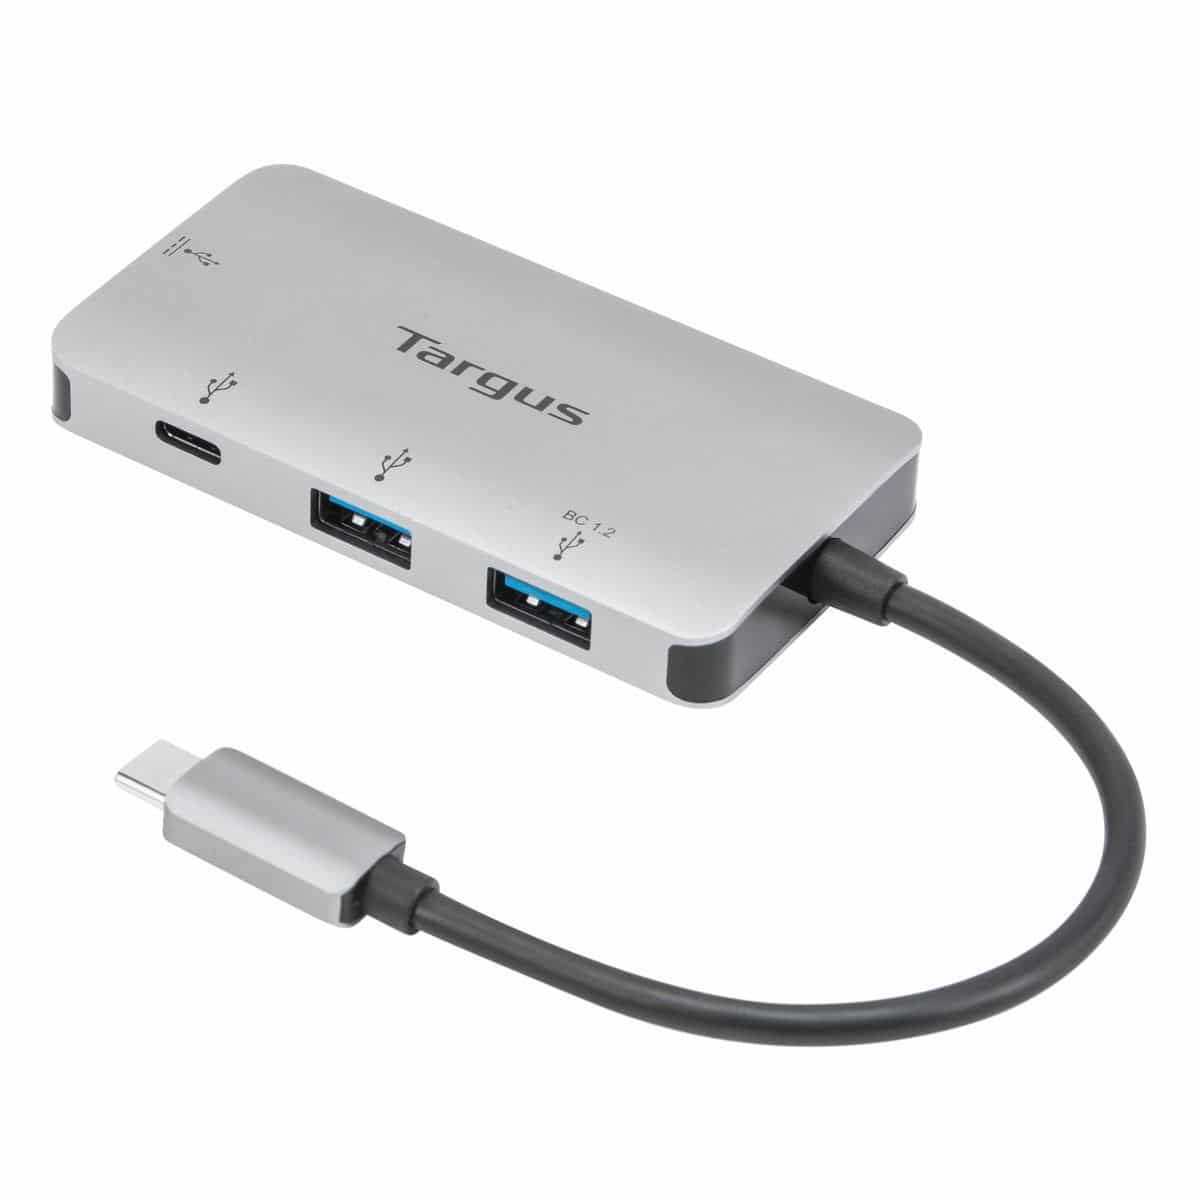
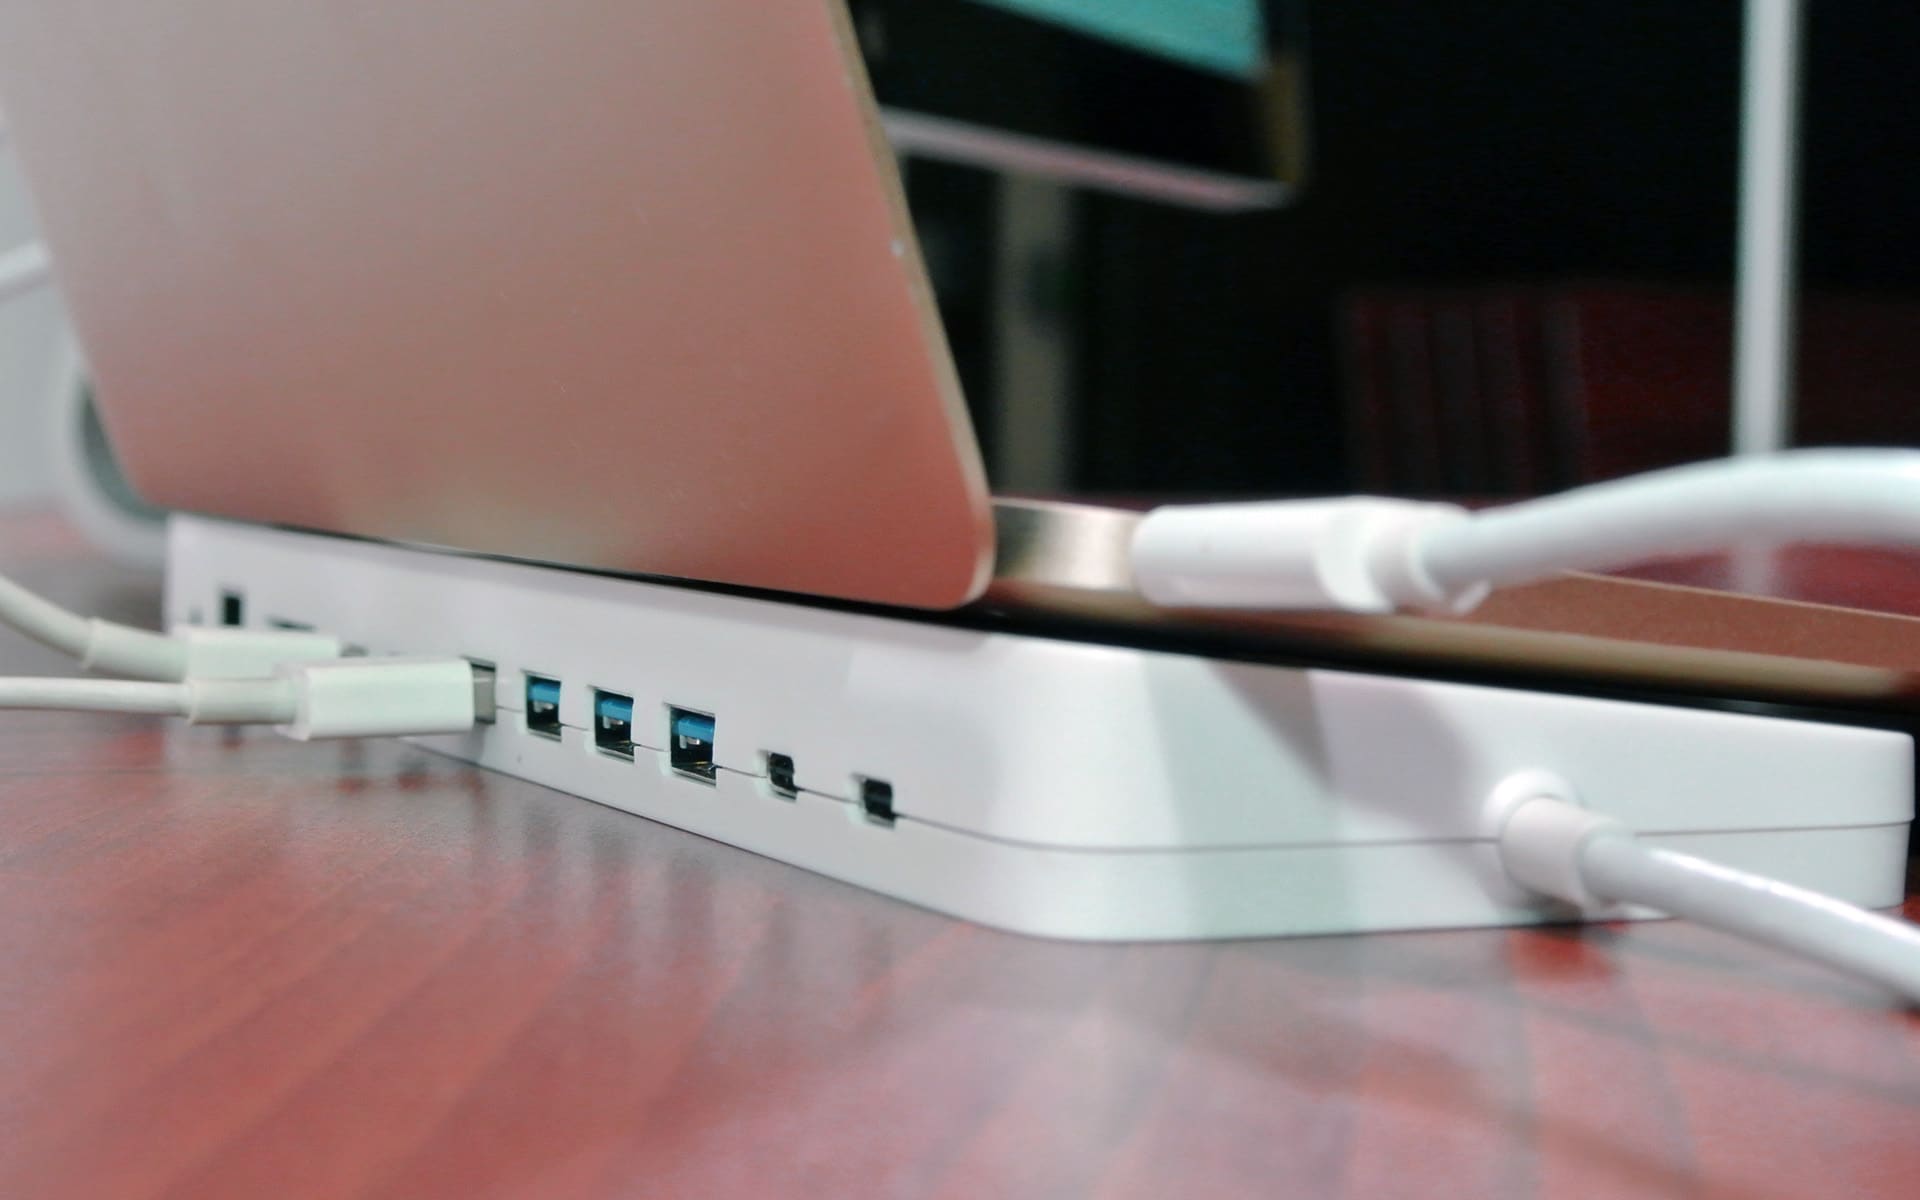
Using USB-C Hub To Add More Ports
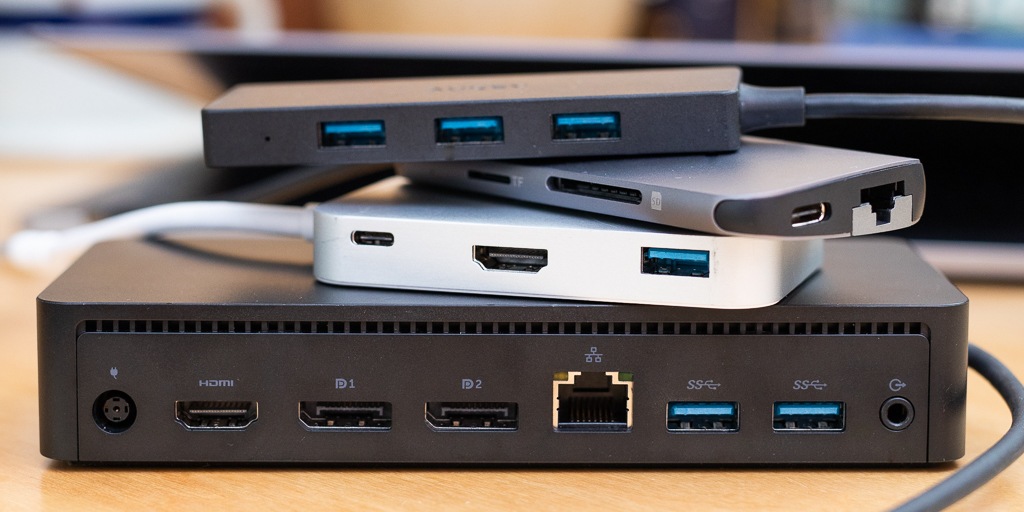
Following the MacBook release from the single-port, a variety of hubs and adapters could be released quickly by many peripheral producers that could increase their user options.
It’s a smart idea. You plug your iPad, your laptop, camera, microphone, monitor or hard drive into the various ports on the device so you can plug it in on the MacBook.
The MacBook can handle a surprising number of external devices without a problem thanks to the fast nature of the USB-C / Thunderbolt 3, which means that the minimal begins on the Mac Laptops are much more versatile.
Also Read: macOS High Sierra: A Comprehensive Review
Using Branch To Add More Ports
In reality, the Branch adapter connects directly to the USB-C port and acts as an extension of your computer instead of connecting to your MacBook through a cable.
It is limited to four ports by the low type factor:
- Two USB A ports
- One USB-C port
- Mini DisplayPort (an HDMI port. but a Mini DisplayPort as available for the new version).
It is possible to connect 64 GB of space to the Branch, greatly improving your MacBook storage space and stopping a portable hard drive from being needed.
While it is not flashed by the 7 ports of the Hub+, it offers you the essentials that are needed by many.
If you want to buy Branch, here is a price list for you:
Using HydraDock To Add More Ports
This is an amazing and beneficial device that provides you with the 11 ports connections that include:
- USB-A ports (Four)
- USB-C ports (Two)
- SDXC card slot
- HDMI
- Gigabit ethernet
- Mini DisplayPort
- A wired USB-C connector for your MacBook
This is a great option if you use a lot of USB connections with a smarter profile and six USB ports. Because it uses Macbook to generate power, if you charge a couple of things, it could put a big drain on your own battery.
This device will cost you around $169, a bit expensive but it is worth investing in.
Packing Up!
In this article, we have discussed adding more ports to your MacBook. We are hopeful that you have like our analysis and recommendation and they will be helpful for you.
Having said that, we come to the end of our article. Moreover, if you have a problem, you can contact us, we will try to resolve it.