Efficient water removal is a critical aspect of any HVAC system, especially in regions with high humidity or in buildings where indoor air quality is paramount. The installation of condensate pumps and other components of water removal systems must be done correctly to ensure proper function and to avoid potential issues like water damage or mold growth. Here are essential tips and best practices for installing HVAC water removal systems that can help homeowners, and HVAC professionals ensure optimal performance and longevity.
Planning and Preparation
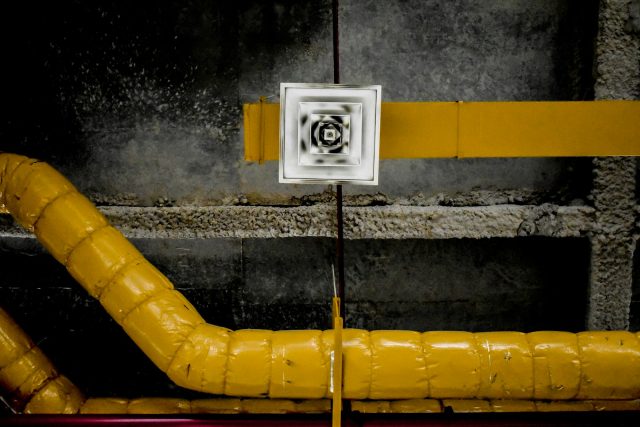
Assessing the Installation Site
Before installing a condensate pump or any part of the water removal system, it is crucial to assess the installation site thoroughly. Factors to consider include:
- Location: The pump should be near the HVAC unit to minimize the distance water must travel.
- Accessibility: Ensure the installation site is accessible for maintenance and inspection.
- Safety: The area should be safe for installation, with no electrical hazards or potential for water damage.
Understanding System Requirements
Each HVAC system has specific requirements based on its design and capacity. Familiarize yourself with the HVAC unit’s specifications to choose the appropriate condensate pump that can handle the expected water flow and lift requirements.
Installation Process
Installing the Condensate Pump
- Mounting the Pump: Secure the condensate pump on a flat, stable surface either beside or below the level of the HVAC unit to ensure effective drainage by gravity.
- Connecting the Drain Line: Attach the drain line from the HVAC unit to the pump’s inlet. Ensure all connections are tight and secure to prevent leaks.
- Routing the Discharge Line: The discharge line should lead from the pump to an appropriate drainage area outside the building. It’s crucial to ensure this line has a consistent downward slope without any sags that could collect water and impede flow.
- Electrical Connections: Connect the pump to a proper power source. This should be done according to local codes and standards, often best handled by a licensed electrician.
Checking the Float Switch
The float switch is a critical safety feature that turns the pump on and off based on the level of water in the collection tank. After installation, manually lift the float switch to test if the pump activates. This check ensures the pump will operate correctly when the water level rises.
Post-Installation Checks
Leak Testing
Once the system is installed, it’s essential to test it thoroughly for any leaks. This can be done by pouring water into the pump’s reservoir to trigger the pump and watching the connections and lines for any signs of leakage.
System Start-Up
After checking for leaks, allow the system to run through several cycles to ensure everything is functioning smoothly. Listen for any unusual noises and observe the pump and HVAC system operation to ensure there are no issues with the installation.
Final Adjustments
Based on the observations during the initial run, make any necessary adjustments to the placement of lines or settings of the pump to optimize performance. Ensure that all lines are secured and insulated if necessary to prevent condensation or freezing in colder climates.
Regular maintenance and checks post-installation will ensure the longevity and efficiency of the HVAC water removal system. Scheduled cleanings of the pump, reservoir, and lines will prevent sludge and mold buildup, which could impede the system’s effectiveness.
By following these detailed installation tips, you can ensure that your HVAC water removal system, including condensate pumps, is set up to provide reliable performance and protect your property from moisture-related issues effectively.